
Heads up. This is going to be a long blog post because I am including over a dozen close up photos of my process in making the flowers.

First, a shoutout to Jennifer McGuire. I saw a card of hers from years ago and I mimicked the colors and style. I believe it used Altenew's African Daisy dies. I don’t have a date or link for that card.
I’ve never made a 3D flower before, especially not one with such detail. While a die set like the Spellbinders Serenity Garden Astrantia* set designed by Susan Tierney Cockburn takes time to build like Susan does it, the process is fun. I am including a LOT of photos of how I put these flowers together with some time saving tips. Susan has an excellent video on YouTube about how to build these flowers. I did a few things differently (some by accident) but I loved my results. I am trying to replicate the look of Astrantia Sparkling Stars Red breed. I couldn't find an unlicensed photo of this to use here, but you can Google the species.

The nice thing about the die set is that each die has a marking on it telling you how many times you should cut it out. I started by following Susan’s YouTube tutorial and her technique of cutting everything from white 80lb cardstock. Both 110 and 110 cardstock will be too heavy for making these flowers.

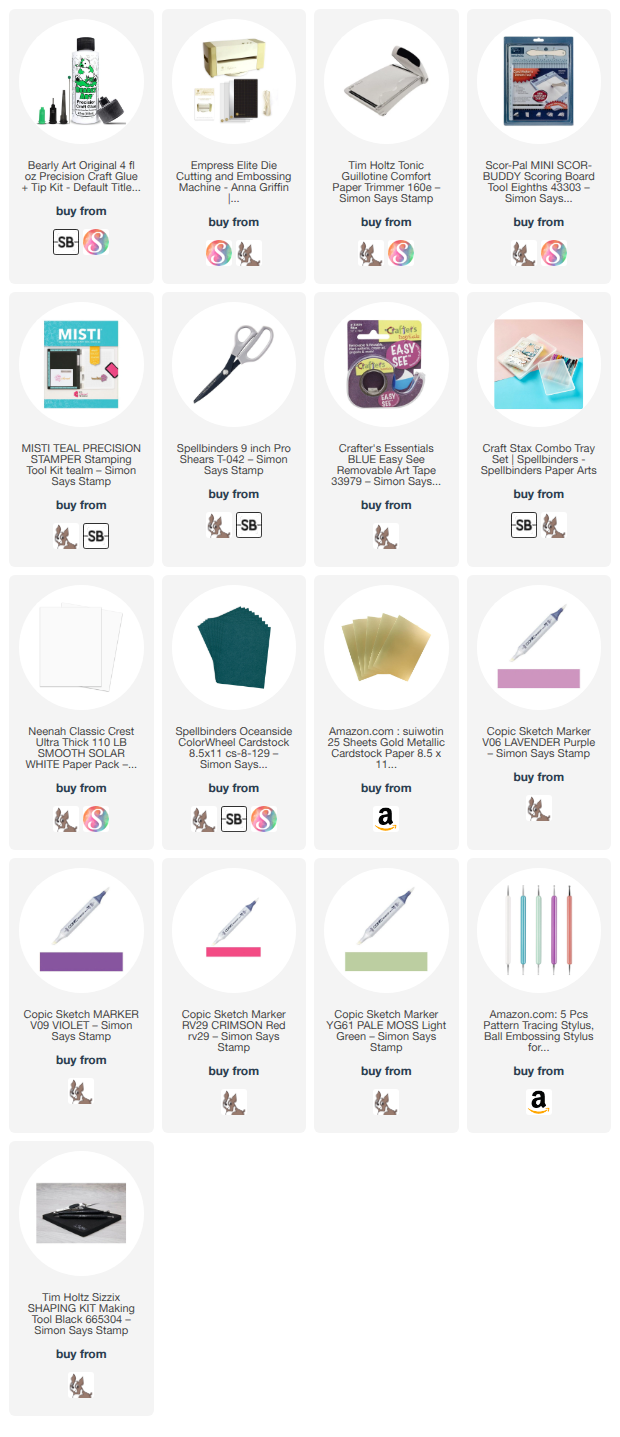
I took the two big petaled die cuts and colored the top AND bottoms of each with Copic markers V06, V09, and RV29 as shown. I laid down the darkest purple at the tips, then the red over everything, then the lighter purple over the darker purple.


These two flowers get shaped first by using my Sizzix reverse tweezers by grabbing the petal straight on with the tip pointing to the center, and gently wrapping each petal around the tweezer tips. Next, as Susan showed, I gently grabbed the tip of the petal in the tweezers and twisted to the right. You must do this VERY gently or you risk ripping the petal. And do NOT wet your flowers thinking that will make it easier. Wet paper is much more fragile and things will rip.

Then, on a sturdy foam pad like the one by Sizzix, with a medium-sized ball stylus, I “cupped” each flower by pressing and swirling the stylus in the center. These two flowers can now be glued together in the center only and offsetting the petals.
The little stems (stamen?) in the center is constructed of 5 (yes, 5) die cuts: 2 large, 2 medium, and 1 coil. I first Copic colored these all using YG61 on top and bottom. Then, still using my foam pad, I pushed a tiny ball stylus into each side of the tip of each stem (it looks like the end of a dog bone). Then I took a tiny ball stylus and ran it down each stem on each piece. I failed to cup the center of each of these, but it worked out okay. Pressing down in the center of each with a small to medium size ball stylus would have been helpful.

Now I come to making the itty bitty flowers (which I just love and included in a different project.) First, because I wanted to replicate the Sparkling Stars Red breed of these flowers, I wanted to leave a little white on those tiny interior flowers. I used my R29 copic marker and scribbled about a 3 x 4” rectangle on some white cardstock, not covering every millimeter. I did this top and bottom.


Next I took the little die plate that cuts out 70 tiny flowers and ran it through my machine. Then, I stopped and did NOT take it off my mat. With the die and paper still stuck on my mat, I used a fine-tip marker and poked it through each hole, giving me a center dot in each of my flowers.


Then - and you will have varying degrees of success with this (you might be able to do it if you put the sandwich upside down and lift off the mat) - if you can transfer both the die and the paper intact from the mat to the foam pad, you will set yourself up perfectly for the next step. Next, I poked the tiniest ball stylus into the same holes and pressed down. This technique both popped the flower out of the die and cupped it in the middle, making it fold up like the flowers appear in real life.
If the flowers are out of the die before this step, it only takes a few seconds to cup the flowers as they are sitting on the pad.


I carefully glued these flowers to the stem tips (2 on each) with the cupped side pointing out. Susan does this differently. This makes for using all 70 of those tiny flowers. Whew, the hard part is over.
Now you simply layer these spoked-looking things, large to small, in the center of the other flower you’ve constructed, offsetting each stem. After the glue is all dry, the flower should be sturdy enough that you can fluff or move the interior stems as much as you want. I had no issue with squeezing and pushing the stems around.

After all my flowers were built, I took two A2-sized pieces of Oceanside cardstock. With one, I first spritzed the back with water and then dry embossed it with Simon Hurley’s new Cascading Dots 3D Embossing Folder* and cut the lower portion off at a diagonal. With the second piece, I simply adhered a Hello sentiment from Simon Hurley’s new Big & Bold Sentiment die set that I cut from brushed gold cardstock. I adhered the top cut and embossed piece on top of the A2 flat piece with thin foam adhesive. Next, I added the flowers along the cut panel at the very edge with liquid glue. Then I cut 1 Hello from heavy white cardstock and glued that behind a satin gold Hello I cut from some gold cardstock. I added this sentiment as the final piece to my card front. I will glue all of it on to a white cardbase. This will definitely be a hand delivered card.
If you’ve read this far, as my dear dad used to say, I owe you a Coke. Here’s your soda.

Affiliate links are used in this post at no cost to you. This means I may receive a small commission when you click through and shop using the links I provide. This helps support me in creating and posting my crafts. Items marked with an asterisk * at first mention were provided by a store or manufacturer. Otherwise, all items were purchased by me.


Post a Comment