

I love a good twist. When I received The Divorce Upside stamp set* from Simon Says Stamp as part of the new Shine On release, I thought I’d give one of the sentiments a twist.
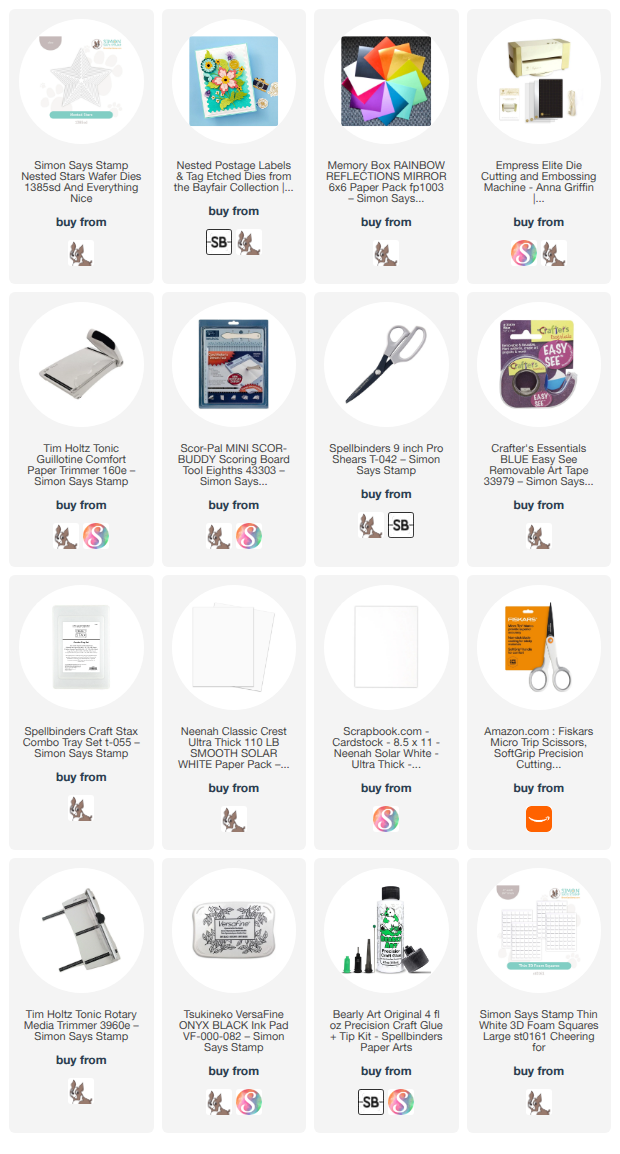
I took the “hello, freedom” stamp and turned it into a 4th of July card. I used a set of nested star dies to cut stars from red patterned paper from my stash, red metallic paper and white pearlescent paper from Memory Box. I took a piece of blue and white striped paper from my stash and cut it to about 4” x 3”. I cut it diagonally with my paper trimmer and spread the 2 pieces apart and adhered them to a piece of white cardstock that was approximately 4” x 5.25”. I stamped the sentiment diagonally in black Versafine in the white space between the 2 pieces of striped paper, making sure it was parallel to the paper edges.

To make this panel a real focal point, I die cut it with one of the dies from the Spellbinders Nested Postage Labels and Tag die set. This made it a little smaller and gave it that nice stitched edge I am so fond of. Next, I adhered this to a white A2 card front. Finally, I adhered the stars all over with glue and foam adhesive. It was a pretty simple card to make.
Affiliate links are used in this post at no cost to you. This means I may receive a small commission when you click through and shop using the links I provide. This helps support me in creating and posting my crafts. Items marked with an asterisk * at first mention were provided by a store or manufacturer. Otherwise, all items were purchased by me.
I love a good twist. When I received The Divorce Upside stamp set* from Simon Says Stamp as part of the new Shine On release, I thought I’d give one of the sentiments a twist.
I took the “hello, freedom” stamp and turned it into a 4th of July card. I used a set of nested star dies to cut stars from red patterned paper from my stash, red metallic paper and white pearlescent paper from Memory Box. I took a piece of blue and white striped paper from my stash and cut it to about 4” x 3”. I cut it diagonally with my paper trimmer and spread the 2 pieces apart and adhered them to a piece of white cardstock that was approximately 4” x 5.25”. I stamped the sentiment diagonally in black Versafine in the white space between the 2 pieces of striped paper, making sure it was parallel to the paper edges.
To make this panel a real focal point, I die cut it with one of the dies from the Spellbinders Nested Postage Labels and Tag die set. This made it a little smaller and gave it that nice stitched edge I am so fond of. Next, I adhered this to a white A2 card front. Finally, I adhered the stars all over with glue and foam adhesive. It was a pretty simple card to make.
Affiliate links are used in this post at no cost to you. This means I may receive a small commission when you click through and shop using the links I provide. This helps support me in creating and posting my crafts. Items marked with an asterisk * at first mention were provided by a store or manufacturer. Otherwise, all items were purchased by me.
I adore typography. I even took a class in typography at my local community college back in the early 90s. I love to collect fun fonts and I have an entire Pinterest board dedicated to typography. When I found this cool Floral & and Sentiment Press Plate at Spellbinders, I had to have it. One of the nicest things about this set is that the Happy Birthday and the Many More are separate pieces. This means I can foil my heart out with just the birthday plate and nothing else.

For this card, I decided to experiment with the A6 size that Jennifer keeps promoting on her YouTube lives. It IS a really fun size. That means you are looking at a card that is 4.5” x 6.25”.
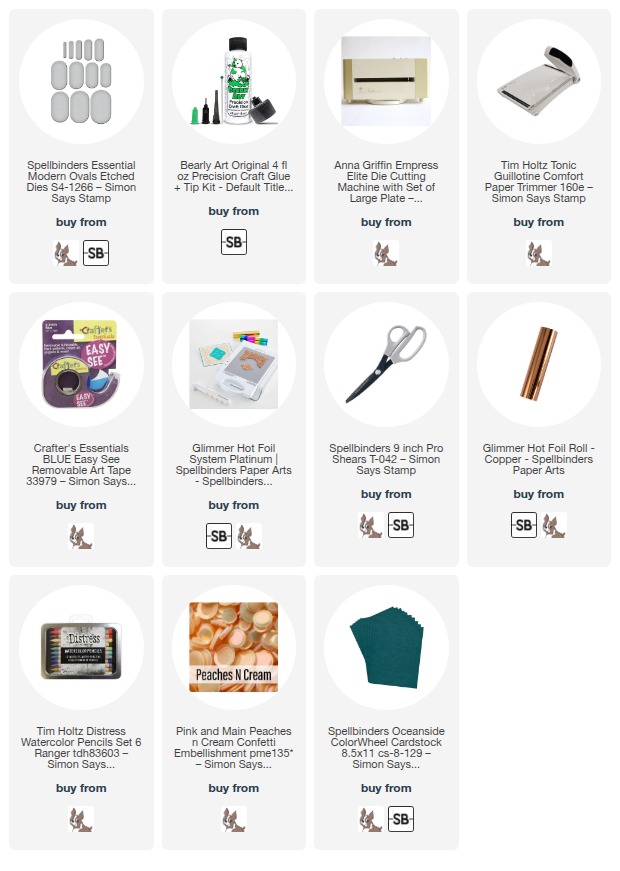
I started with using the ampersand and sentiment press plates on Stampin’ Up! Crumb Cake cardstock. I chose the Spellbinders Copper Glimmer foil because I just love all things copper. Copper is so unexpected and warm. I used the Spellbinders Modern Ovals nested die set to cut out the ampersand and the coordinating dies to cut the sentiments.

I used Tim Holtz’s Distress Watercolor Pencils in Broken China and Bundled Sage (both in Set 6) to color in the flowers and leaves on the ampersand. I used the gorgeous Oceanside cardstock from Spellbinders for the larger oval and the A6 base of the card. The textured and patterned paper in the background is unique. It is printed as you see it. I have not done anything to it except cut it to 4.25” x 6”. I picked up this paper in the “giveaways” pile at a crafting event with friends. Lucky me. There is a high chance it is from Club Scrap.Finally, the hole-less sequins are from Pink & Main. They are called Peaches and Cream.
Tell me - have you made any A6 cards?
Affiliate links are used in this post at no cost to you. This means I may receive a small commission when you click through and shop using the links I provide. This helps support me in creating and posting my crafts. Items marked with an asterisk * at first mention were provided by a store or manufacturer. Otherwise, all items were purchased by me. I do not get paid to promote any products.
SUPPLIES USED
I adore typography. I even took a class in typography at my local community college back in the early 90s. I love to collect fun fonts and I have an entire Pinterest board dedicated to typography. When I found this cool Floral & and Sentiment Press Plate at Spellbinders, I had to have it. One of the nicest things about this set is that the Happy Birthday and the Many More are separate pieces. This means I can foil my heart out with just the birthday plate and nothing else.
For this card, I decided to experiment with the A6 size that Jennifer keeps promoting on her YouTube lives. It IS a really fun size. That means you are looking at a card that is 4.5” x 6.25”.
I started with using the ampersand and sentiment press plates on Stampin’ Up! Crumb Cake cardstock. I chose the Spellbinders Copper Glimmer foil because I just love all things copper. Copper is so unexpected and warm. I used the Spellbinders Modern Ovals nested die set to cut out the ampersand and the coordinating dies to cut the sentiments.
I used Tim Holtz’s Distress Watercolor Pencils in Broken China and Bundled Sage (both in Set 6) to color in the flowers and leaves on the ampersand. I used the gorgeous Oceanside cardstock from Spellbinders for the larger oval and the A6 base of the card. The textured and patterned paper in the background is unique. It is printed as you see it. I have not done anything to it except cut it to 4.25” x 6”. I picked up this paper in the “giveaways” pile at a crafting event with friends. Lucky me. There is a high chance it is from Club Scrap.Finally, the hole-less sequins are from Pink & Main. They are called Peaches and Cream.
Tell me - have you made any A6 cards?
Affiliate links are used in this post at no cost to you. This means I may receive a small commission when you click through and shop using the links I provide. This helps support me in creating and posting my crafts. Items marked with an asterisk * at first mention were provided by a store or manufacturer. Otherwise, all items were purchased by me. I do not get paid to promote any products.
SUPPLIES USED

Two young women who are very dear to me both have July birthdays, and own and love cats. So, when I saw the Poppystamps Whittle Adorable Kitty Kit I knew exactly who I was going to make my creations for.

Two young women who are very dear to me both have July birthdays, and own and love cats. So, when I saw the Poppystamps Whittle Adorable Kitty Kit I knew exactly who I was going to make my creations for.

I found a unique challenge at Double D Challenges to use white plus just one other color in your card. It didn't say monochrome -- just one other color. I love scene cards and realized it had been awhile since I had used this Mama Elephant Window Dressings Die set. It comes with so many different dies including windows, panels, curtains, butterflies, flowers and a flower box.
The birds are Poppystamps Whittle Birds die set. I love how detailed these are. Using Stampin' Up! Calypso Coral cardstock and Designer Series Paper (retired) and Neenah 110lb Classic Crest Solar White cardstock, I was able to pull off the challenge requirements.
I am also entering this at Simon Says Stamp Wednesday Challenge (using a little critter). And Addicted to Stamps #430 (using die cuts or stencils).

Once again, the sentiment is computer-generated using a font called Posterama.
Do you enjoy making "a scene" on a card?
I found a unique challenge at Double D Challenges to use white plus just one other color in your card. It didn't say monochrome -- just one other color. I love scene cards and realized it had been awhile since I had used this Mama Elephant Window Dressings Die set. It comes with so many different dies including windows, panels, curtains, butterflies, flowers and a flower box.
The birds are Poppystamps Whittle Birds die set. I love how detailed these are. Using Stampin' Up! Calypso Coral cardstock and Designer Series Paper (retired) and Neenah 110lb Classic Crest Solar White cardstock, I was able to pull off the challenge requirements.
I am also entering this at Simon Says Stamp Wednesday Challenge (using a little critter). And Addicted to Stamps #430 (using die cuts or stencils).
Once again, the sentiment is computer-generated using a font called Posterama.
Do you enjoy making "a scene" on a card?

It's about time for me to start wrapping presents. Pretty, fun gift tags can give a lot of oomph to otherwise plain packages or simple gift bags. I'm on the Poppystamps blog today with these three tags. All three have the sweet figure from the Whittle Friendly Snowman die. I cut scarves and hat bands from red, aqua glitter, and a pool-colored cardstock to give them all a different look.

After that I branched out (pardon the pun). The snowman on the left got a dotted aqua paper as a hill. Then she got two trees from their Evergreen Trio die set. Finally, I added clear Fairy Drops (I can't get enough of these things) to appear like snow (or maybe sleet).

The red-scarved snowman got a black and red check hill to rest on. Then he got the sweet holly leaves and berries from the another die set. The last snowman got same glitter as a hill, and the evergreen boughs from the yet another die set. I colored the boughs with a white gel pen to make it look like snow. I added some gems as snowflakes when I was finished. A little string on the top and these sweet guys and girls are ready to go under the tree.
Do you make your own gift tags or packaging? It's like another gift under the tree. Happy holidays.
It's about time for me to start wrapping presents. Pretty, fun gift tags can give a lot of oomph to otherwise plain packages or simple gift bags. I'm on the Poppystamps blog today with these three tags. All three have the sweet figure from the Whittle Friendly Snowman die. I cut scarves and hat bands from red, aqua glitter, and a pool-colored cardstock to give them all a different look.
After that I branched out (pardon the pun). The snowman on the left got a dotted aqua paper as a hill. Then she got two trees from their Evergreen Trio die set. Finally, I added clear Fairy Drops (I can't get enough of these things) to appear like snow (or maybe sleet).
The red-scarved snowman got a black and red check hill to rest on. Then he got the sweet holly leaves and berries from the another die set. The last snowman got same glitter as a hill, and the evergreen boughs from the yet another die set. I colored the boughs with a white gel pen to make it look like snow. I added some gems as snowflakes when I was finished. A little string on the top and these sweet guys and girls are ready to go under the tree.
Do you make your own gift tags or packaging? It's like another gift under the tree. Happy holidays.
I discovered the line of Poppystamps Whittle dies at a scrapbook convention I attended in Arlington, TX in June 2021. I thought they were adorable and started with a few. I'm itching to get many more because they are so darn cute and very unique. This card came about as a response to a Color Hues Color Challenge. It took quite a while to decide on the layout and all the elements.


I discovered the line of Poppystamps Whittle dies at a scrapbook convention I attended in Arlington, TX in June 2021. I thought they were adorable and started with a few. I'm itching to get many more because they are so darn cute and very unique. This card came about as a response to a Color Hues Color Challenge. It took quite a while to decide on the layout and all the elements.
Inspired by a Toni Maddox (@frankiehelpscraft) card using this Bubbles of Joy stamp set from Lawn Fawn, I gave my mice a cute house complete with door, chimney and a very nice lawn. I limited myself to 3 colors: pink, gray and mint green in order to stick with a color challenge theme. That color restrictions made for a lot of fun. I am still in love with slimline cards.


Inspired by a Toni Maddox (@frankiehelpscraft) card using this Bubbles of Joy stamp set from Lawn Fawn, I gave my mice a cute house complete with door, chimney and a very nice lawn. I limited myself to 3 colors: pink, gray and mint green in order to stick with a color challenge theme. That color restrictions made for a lot of fun. I am still in love with slimline cards.


CS: Neenah Solar White 110lb, Tim Holtz Idea-ology Kraft-Stock in Cool (dark blue), Bazzill Basics in Raven, Stampin' Up! Black and So Saffron
Paper: Tim Holtz Idea-ology Wallflower Paper Stash (blue/text background), map by The Paper Studio/Hobby Lobby, Bo Bunny Double Dots designs (gray dot), Jenny Bowlin Red Soda Label
Ink: Distress Oxides - Fossilized Amber, Antique Linen, Fired Brick, Aged Mahogany, Chipped Sapphire, Speckled Egg, Evergreen Bough, Gathered Twig, Ground Espresso; Distress Inks: Pumice Stone; Tuxedo Black Memento Ink, Versamark
Stamp: "Enjoy the Now" by Heidi Swapp
Embellishments: Tim Holtz Mini Fasteners, black thread, beige thread, Tim Holtz Idea-ology Snippets Ephemera Pack, Tim Holtz Metallic Stickers Quotations, Cheesecloth in Tan from ByFernStudio on Etsy.
Dry Embossing Folder: Wind and Water from Fun Stampers Journey(FSJ) (purchased from Spellbinders)
Embossing powder: Champagne by Recollections/Michaels
CS: Neenah Solar White 110lb, Tim Holtz Idea-ology Kraft-Stock in Cool (dark blue), Bazzill Basics in Raven, Stampin' Up! Black and So Saffron
Paper: Tim Holtz Idea-ology Wallflower Paper Stash (blue/text background), map by The Paper Studio/Hobby Lobby, Bo Bunny Double Dots designs (gray dot), Jenny Bowlin Red Soda Label
Ink: Distress Oxides - Fossilized Amber, Antique Linen, Fired Brick, Aged Mahogany, Chipped Sapphire, Speckled Egg, Evergreen Bough, Gathered Twig, Ground Espresso; Distress Inks: Pumice Stone; Tuxedo Black Memento Ink, Versamark
Stamp: "Enjoy the Now" by Heidi Swapp
Embellishments: Tim Holtz Mini Fasteners, black thread, beige thread, Tim Holtz Idea-ology Snippets Ephemera Pack, Tim Holtz Metallic Stickers Quotations, Cheesecloth in Tan from ByFernStudio on Etsy.
Dry Embossing Folder: Wind and Water from Fun Stampers Journey(FSJ) (purchased from Spellbinders)
Embossing powder: Champagne by Recollections/Michaels


Stamp Set: Tweet Friends by MFT
Markers: Spectrum Noir, Dick Blick and Copic
Stencil: homemade starburst
Ink: Memento Black, Daffodil Delight
Sentiment is die cut by Silhouette machine using Bebas Neue font, computer printed using the font KG What Does the Fox Say
Stamp Set: Tweet Friends by MFT
Markers: Spectrum Noir, Dick Blick and Copic
Stencil: homemade starburst
Ink: Memento Black, Daffodil Delight
Sentiment is die cut by Silhouette machine using Bebas Neue font, computer printed using the font KG What Does the Fox Say
I am entering this in the Simon Says Stamp Monday Challenge #sssmchallenge. I recently bought some envelopes specifically for mini slimline cards and I was determined to use them. I made this mini slimline by covering a 3.5 x 6" piece of cardstock in washi tape strips, adding a torn and inked piece of decorated paper, then adding a tree image stamped on watercolor paper (watercolored using inks). I did something I haven't done in about a decade. I sewed on my card using a little, old, but very sturdy machine. It is a Janome "Blossom" mini sewing machine I picked up many years ago on my local Craigslist. When I couldn't remember how to thread it, I looked on YouTube and found a tutorial made by none other than Gina K herself. The leaves are cut with my Silhouette and inked with Distress Oxides. The brown messy circle is from a fantastic Sizzix set. The sentiment is from Tim Holtz Idea-ology stickers.


CS: 80lb white cardstock, covered with washi tape, Canson XL watercolor paper
Patterned paper: text paper - unknown, brown circle - leather looking paper is Authentique
Washi Tape: combination of large set of rolls from Michael's and a set called Natural Fleurs from the Park Lane line at Joann's (just love the wooden chevron)
Stamp: Tree from a set of trees by Inkadinkado
Ink: Black Versafine, Gathered Twig Distress Ink, Distress Oxides - Stormy Weather, Faded Jeans, Chipped Sapphire, for watercoloring - Distress Ink Chipped Sapphire, Shabby Shutters, Peacock Feathers, Stormy Sky
Dies: Sizzix Thinlets Mixed Media Motifs
Embellishments: Ivory epoxy dots - unknowns, Tim Holtz Idea-ology Quotations Metallic Stickers, black thread
I am entering this in the Simon Says Stamp Monday Challenge #sssmchallenge. I recently bought some envelopes specifically for mini slimline cards and I was determined to use them. I made this mini slimline by covering a 3.5 x 6" piece of cardstock in washi tape strips, adding a torn and inked piece of decorated paper, then adding a tree image stamped on watercolor paper (watercolored using inks). I did something I haven't done in about a decade. I sewed on my card using a little, old, but very sturdy machine. It is a Janome "Blossom" mini sewing machine I picked up many years ago on my local Craigslist. When I couldn't remember how to thread it, I looked on YouTube and found a tutorial made by none other than Gina K herself. The leaves are cut with my Silhouette and inked with Distress Oxides. The brown messy circle is from a fantastic Sizzix set. The sentiment is from Tim Holtz Idea-ology stickers.
CS: 80lb white cardstock, covered with washi tape, Canson XL watercolor paper
Patterned paper: text paper - unknown, brown circle - leather looking paper is Authentique
Washi Tape: combination of large set of rolls from Michael's and a set called Natural Fleurs from the Park Lane line at Joann's (just love the wooden chevron)
Stamp: Tree from a set of trees by Inkadinkado
Ink: Black Versafine, Gathered Twig Distress Ink, Distress Oxides - Stormy Weather, Faded Jeans, Chipped Sapphire, for watercoloring - Distress Ink Chipped Sapphire, Shabby Shutters, Peacock Feathers, Stormy Sky
Dies: Sizzix Thinlets Mixed Media Motifs
Embellishments: Ivory epoxy dots - unknowns, Tim Holtz Idea-ology Quotations Metallic Stickers, black thread


