

If you're reading this, first - thanks; second, I am part of today's Simon Says Stamp Instagram Hop. If you head to my tinypaperblossom account, you can comment on each maker's IG post and be entered into a drawing for a $25 SSS gift card. It's a sweet deal.

I used the Simon Says Stamp Tidepool ink and the large Pinkfresh Studio blending brushes to ink blend a glow in the center of the card. I masked off the bottom of my ink blend so that when I added the sentiment strip, the glow would not continue below it. I used Versa Clair Black ink to stamp with the 2-line sentiment onto Spellbinders Colorwheel Carrot cardstock. I used a square punch to cut the fishtail on each end of the sentiment strip. I adhered everything with a mix of foam adhesive in 2 different heights and liquid glue. Finally, I used some Poppystamp Fairy Jewels to add a bit of sparkle around the image.
Affiliate links are used in this post at no cost to you. This means I may receive a small commission when you click through and shop using the links I provide. This helps support me in creating and posting my crafts. Items marked with an asterisk * at first mention were provided by a store or manufacturer. Otherwise, all items were purchased by me.
If you're reading this, first - thanks; second, I am part of today's Simon Says Stamp Instagram Hop. If you head to my tinypaperblossom account, you can comment on each maker's IG post and be entered into a drawing for a $25 SSS gift card. It's a sweet deal.
I used the Simon Says Stamp Tidepool ink and the large Pinkfresh Studio blending brushes to ink blend a glow in the center of the card. I masked off the bottom of my ink blend so that when I added the sentiment strip, the glow would not continue below it. I used Versa Clair Black ink to stamp with the 2-line sentiment onto Spellbinders Colorwheel Carrot cardstock. I used a square punch to cut the fishtail on each end of the sentiment strip. I adhered everything with a mix of foam adhesive in 2 different heights and liquid glue. Finally, I used some Poppystamp Fairy Jewels to add a bit of sparkle around the image.
Affiliate links are used in this post at no cost to you. This means I may receive a small commission when you click through and shop using the links I provide. This helps support me in creating and posting my crafts. Items marked with an asterisk * at first mention were provided by a store or manufacturer. Otherwise, all items were purchased by me.

The delightful Coffee with Friends* from the new 2026 Simon Says Stamp Every Happiness release is full of adorable images to color, and great, easy-to-use sentiments (even if you’re a tea drinker).
I decided to create a pop up card using the excellent instructions from Jennifer McGuire’s YouTube video “Easy Pop-up Frame Cards” from September 2023. My base is a pale peachy-pink cardstock measuring 4.25” x 9.5”. I scored both short ends at .25”, 1”, and 2”. I used a pink ink and a Pinkfresh Studio large blending brush to stencil over the Lawn Fawn Brick stencil in the middle of the card base. My ‘floor’ is a kraft cardstock that is scored at every .5” to give the sense of a wood plank floor (I decided not to make this wood effect more prominent to not distract from the rest of the scene). I edged the floor pieces with Tim Holtz Distress Ink in Pumice Stone.

I folded the card base along the scorelines and then, using 2 Paper Rose nested rectangle dies (I don’t see these for sale anywhere, so I’ve linked to an almost identical Hero Arts set), I die cut 2 identical frames (gluing them together for strength) from Taylored Expressions Papaya cardstock. I adhered a small strip of the inked kraft ‘floor’ to the back of the frame. Next, following Jennifer’s instructions, I applied liquid glue to this frame and floor piece on the left and right edges only and adhered it to the .25” scored edge on the left and right of the cardbase.
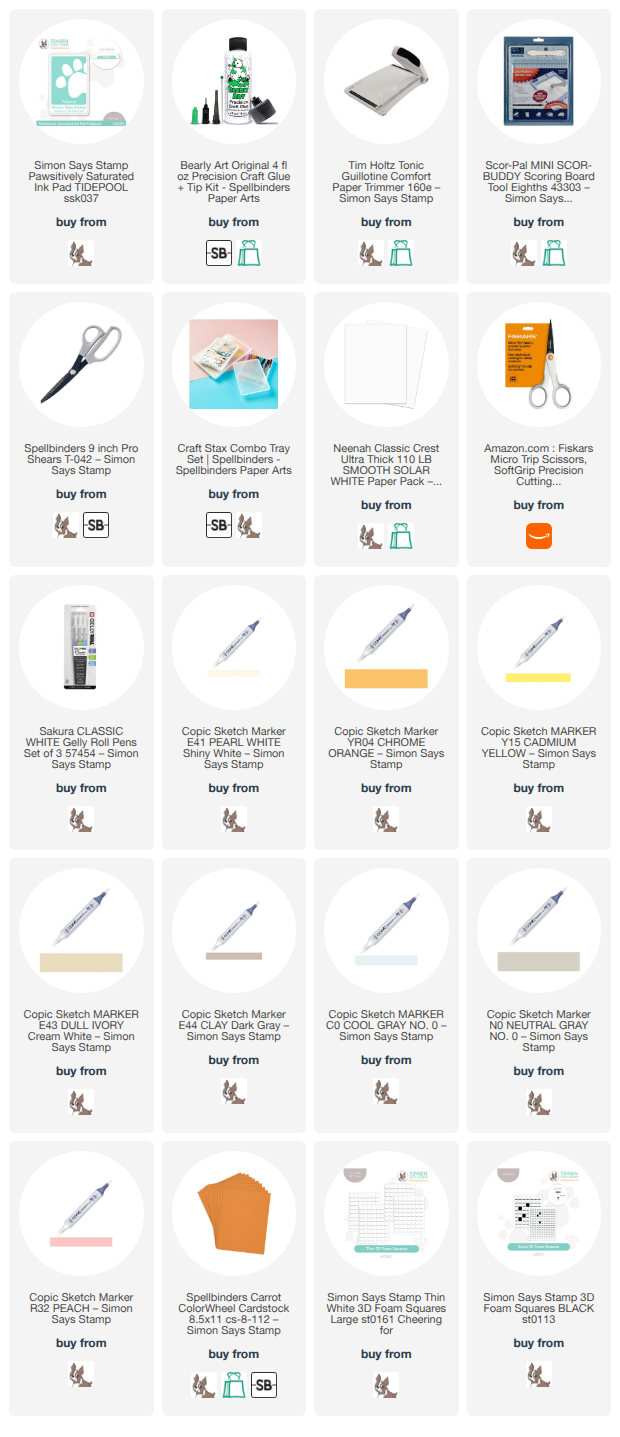
On to the critters, and the sweet accessories like the chair, table, vase and counter/cupcake stand. They’re adorable. I stamped with my new favorite black ink, Gina K Amalgam black ink on Neenah Classic Crest cover stock 110lb. I colored them with Copic markers, some Dick Blick Studio Brush alcohol markers and some Spectrum Noir markers. Here is my list of Copics: E31, E33, E35, E40, E41, E43, E44, E47, E11, E13, E15, C0, N0, R00, R20, R32, B0000, BG70, BG72, BG75, YR00, YG61, YG63, G94, B41, B45, B21. Feel free to email me or message me via Instagram for more details or to learn which Dick Blick markers I used. I used a white Gelly Roll pen to highlight all the images I colored.
I fussy-cut all the animals (didn’t have the dies). The Elizabeth Craft Designs Fine Pointed Scissors are a game changer for detailed cutting. I don’t use them for big edges that are easy to cut with small scissors, but for areas like under an arm, between legs, around a stem. If you don’t have a set of these, put them on your wish list now. I carefully edged the cut images with a small or bullet-tipped black felt marker. The pen has to be held behind the cut piece so if you slip, you only mark on the backside. Jennifer McGuire gave this same tip in the video I referenced above.
I glued all the critters into place as shown, providing some depth using foam adhesive in places. I heat embossed my sentiment with Brutus Monroe Alabaster embossing powder on brown cardstock and glued it on.
This card will flatten to fit into an A2 envelope.
Affiliate links are used in this post at no cost to you. This means I may receive a small commission when you click through and shop using the links I provide. This helps support me in creating and posting my crafts. Items marked with an asterisk * at first mention were provided by a store or manufacturer. Otherwise, all items were purchased by me.

The delightful Coffee with Friends* from the new 2026 Simon Says Stamp Every Happiness release is full of adorable images to color, and great, easy-to-use sentiments (even if you’re a tea drinker).
I decided to create a pop up card using the excellent instructions from Jennifer McGuire’s YouTube video “Easy Pop-up Frame Cards” from September 2023. My base is a pale peachy-pink cardstock measuring 4.25” x 9.5”. I scored both short ends at .25”, 1”, and 2”. I used a pink ink and a Pinkfresh Studio large blending brush to stencil over the Lawn Fawn Brick stencil in the middle of the card base. My ‘floor’ is a kraft cardstock that is scored at every .5” to give the sense of a wood plank floor (I decided not to make this wood effect more prominent to not distract from the rest of the scene). I edged the floor pieces with Tim Holtz Distress Ink in Pumice Stone.
I folded the card base along the scorelines and then, using 2 Paper Rose nested rectangle dies (I don’t see these for sale anywhere, so I’ve linked to an almost identical Hero Arts set), I die cut 2 identical frames (gluing them together for strength) from Taylored Expressions Papaya cardstock. I adhered a small strip of the inked kraft ‘floor’ to the back of the frame. Next, following Jennifer’s instructions, I applied liquid glue to this frame and floor piece on the left and right edges only and adhered it to the .25” scored edge on the left and right of the cardbase.
On to the critters, and the sweet accessories like the chair, table, vase and counter/cupcake stand. They’re adorable. I stamped with my new favorite black ink, Gina K Amalgam black ink on Neenah Classic Crest cover stock 110lb. I colored them with Copic markers, some Dick Blick Studio Brush alcohol markers and some Spectrum Noir markers. Here is my list of Copics: E31, E33, E35, E40, E41, E43, E44, E47, E11, E13, E15, C0, N0, R00, R20, R32, B0000, BG70, BG72, BG75, YR00, YG61, YG63, G94, B41, B45, B21. Feel free to email me or message me via Instagram for more details or to learn which Dick Blick markers I used. I used a white Gelly Roll pen to highlight all the images I colored.
I fussy-cut all the animals (didn’t have the dies). The Elizabeth Craft Designs Fine Pointed Scissors are a game changer for detailed cutting. I don’t use them for big edges that are easy to cut with small scissors, but for areas like under an arm, between legs, around a stem. If you don’t have a set of these, put them on your wish list now. I carefully edged the cut images with a small or bullet-tipped black felt marker. The pen has to be held behind the cut piece so if you slip, you only mark on the backside. Jennifer McGuire gave this same tip in the video I referenced above.
I glued all the critters into place as shown, providing some depth using foam adhesive in places. I heat embossed my sentiment with Brutus Monroe Alabaster embossing powder on brown cardstock and glued it on.
This card will flatten to fit into an A2 envelope.
Affiliate links are used in this post at no cost to you. This means I may receive a small commission when you click through and shop using the links I provide. This helps support me in creating and posting my crafts. Items marked with an asterisk * at first mention were provided by a store or manufacturer. Otherwise, all items were purchased by me.


A clean and simple feline card came together for several challenges. The challenges called for using green, making it vibrant, using a pet, using a cat, and using a curve. I love trying to hit so many requirements with one card. It's like solving a puzzle. The cat rubber stamp I've had for several years. I purchased it at The Paper Crown in Waco, Texas. It's called Meow Mix but I'm going to need to research the manufacturer. I stamped it on Gina K Pure Luxury Heavyweight white cardstock with Memento Tuxedo Black ink. I colored in tiny portions with gray and pink Copic and Spectrum Noir markers. I fussy cut it. I used a circle cutter to cut a large circle from the corner of a piece of white cardstock. Underneath that I put the green and white polka dot paper from Jillibean Soup (Soup Staples in Olive Sugar). I punched three hearts from SU's Melon Mambo cardstock with a retired triple heart punch from Stampin' Up!. I adhered the cat with foam adhesive and then the hearts, and then added the sentiment strip from Paper Rose.
A clean and simple feline card came together for several challenges. The challenges called for using green, making it vibrant, using a pet, using a cat, and using a curve. I love trying to hit so many requirements with one card. It's like solving a puzzle. The cat rubber stamp I've had for several years. I purchased it at The Paper Crown in Waco, Texas. It's called Meow Mix but I'm going to need to research the manufacturer. I stamped it on Gina K Pure Luxury Heavyweight white cardstock with Memento Tuxedo Black ink. I colored in tiny portions with gray and pink Copic and Spectrum Noir markers. I fussy cut it. I used a circle cutter to cut a large circle from the corner of a piece of white cardstock. Underneath that I put the green and white polka dot paper from Jillibean Soup (Soup Staples in Olive Sugar). I punched three hearts from SU's Melon Mambo cardstock with a retired triple heart punch from Stampin' Up!. I adhered the cat with foam adhesive and then the hearts, and then added the sentiment strip from Paper Rose.


Stamp Set: Tweet Friends by MFT
Markers: Spectrum Noir, Dick Blick and Copic
Stencil: homemade starburst
Ink: Memento Black, Daffodil Delight
Sentiment is die cut by Silhouette machine using Bebas Neue font, computer printed using the font KG What Does the Fox Say
Stamp Set: Tweet Friends by MFT
Markers: Spectrum Noir, Dick Blick and Copic
Stencil: homemade starburst
Ink: Memento Black, Daffodil Delight
Sentiment is die cut by Silhouette machine using Bebas Neue font, computer printed using the font KG What Does the Fox Say
This was a super fun slimline card to put together from a LOT of pieces. I used 2 different sets of dies, alcohol markers, stencils and a Stampin' Up! punch. Entering this into several challenges.


This was a super fun slimline card to put together from a LOT of pieces. I used 2 different sets of dies, alcohol markers, stencils and a Stampin' Up! punch. Entering this into several challenges.

This was a fun card to put together and is for a special little guy. I first took a piece of Stampin' Up! Sahara Sand cardstock and using the Lawn Fawn brick stencil die, I sponged Stormy Weather Distress ink over it. I used my Silhouette Cameo (and the software) to create and cut the street from SU black cardstock, and then glued a piece of Daffodil Delight behind it. I used the Mama Elephant Slimline Window Dressing Dies to cut out the cardbase and the street (to get the scalloped and stitched ends to match the cardbase). I used the same set of dies to cut out the windows (I cut out the window mullions on the 2 left windows), curtains, wallpaper, and the tiny vellum butterfly.)
The two dogs from Tim Holtz's Dog Talk Stamp Set (these dogs look remarkably like my 2 dogs) was stamped on cold press watercolor paper and colored with Zig Clean Color Real Brush markers (love these things). I die cut them with the matching dies.
Finally, I stamped the truck, the woman, and the sentiment from a very old SU stamp set called Loads of Love onto . I colored the truck with Copic markers (R17, R24, R29, R35) and some Dick Blick alcohol markers in light and dark gray. There is a silver on the bumpers from a Signo Silver Gel Pen. I fussy cut the truck and hand cut the speech bubble.
I assembled everything using primarily Art Glitter Glue and SU foam dots.Challenge is Simon Says Stamp Wednesday Anything Goes. #ssswchallenge.

CS: SU Sahara Sand, Black, Daffodil Delight, Gina K Pure Luxury Layering Weight CS 80lb
Patterned Paper: Brown and green are from The Paper Studio from Hobby Lobby, other 6x6 papers and vellum from my stash
Markers: Copic, Dick Blick, Zig Clean Color Real Brush markers for the dogs
Dies: Tim Holtz Dog Talk, Mama Elephant Slimline Window Dressing Dies
This was a fun card to put together and is for a special little guy. I first took a piece of Stampin' Up! Sahara Sand cardstock and using the Lawn Fawn brick stencil die, I sponged Stormy Weather Distress ink over it. I used my Silhouette Cameo (and the software) to create and cut the street from SU black cardstock, and then glued a piece of Daffodil Delight behind it. I used the Mama Elephant Slimline Window Dressing Dies to cut out the cardbase and the street (to get the scalloped and stitched ends to match the cardbase). I used the same set of dies to cut out the windows (I cut out the window mullions on the 2 left windows), curtains, wallpaper, and the tiny vellum butterfly.)
The two dogs from Tim Holtz's Dog Talk Stamp Set (these dogs look remarkably like my 2 dogs) was stamped on cold press watercolor paper and colored with Zig Clean Color Real Brush markers (love these things). I die cut them with the matching dies.
Finally, I stamped the truck, the woman, and the sentiment from a very old SU stamp set called Loads of Love onto . I colored the truck with Copic markers (R17, R24, R29, R35) and some Dick Blick alcohol markers in light and dark gray. There is a silver on the bumpers from a Signo Silver Gel Pen. I fussy cut the truck and hand cut the speech bubble.
I assembled everything using primarily Art Glitter Glue and SU foam dots.Challenge is Simon Says Stamp Wednesday Anything Goes. #ssswchallenge.
CS: SU Sahara Sand, Black, Daffodil Delight, Gina K Pure Luxury Layering Weight CS 80lb
Patterned Paper: Brown and green are from The Paper Studio from Hobby Lobby, other 6x6 papers and vellum from my stash
Markers: Copic, Dick Blick, Zig Clean Color Real Brush markers for the dogs
Dies: Tim Holtz Dog Talk, Mama Elephant Slimline Window Dressing Dies

