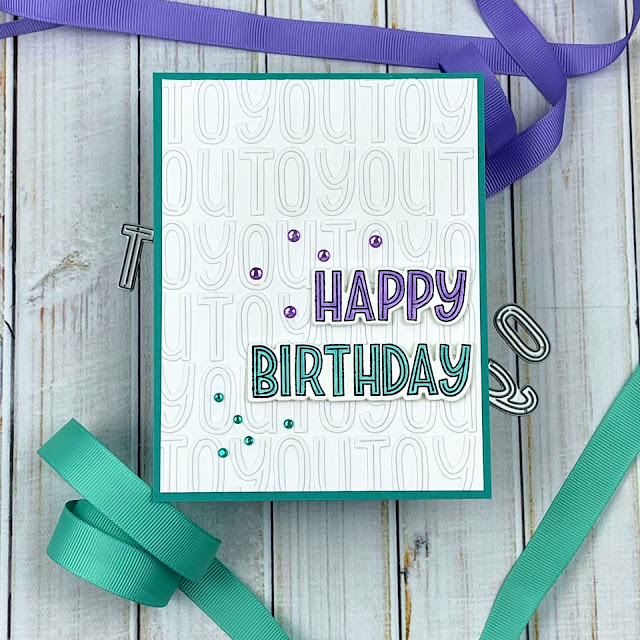
Alphabet dies are so handy to have around. Of course, you'll use them to spell out sentiments and page titles, but what about a nifty background? On this simple birthday card, I started by stamping the Happy Birthday outline. I colored the Happy with a purple marker and the Birthday with a turquoise. Next, I used the matching dies in the set to cut out each word. Then I wanted to do something really different in the background, so I die cut To You 10 times and glued it onto 4.25" x 5.5" card front over and over.
I used some Post-it Tape to both hold my card to my glass mat, and give me a baseline to lay the letters against. I wanted to mat the To You white background to a colorful piece of cardstock so I trimmed off a bit of the edges to make it 5.25" x 4" which really emphasized the repeating pattern.
Finally I adhered the Happy Birthday onto my To You layer using pop dots to make it stand out. I finished it off with some bling to give it a little oomph. White space on a card is really easy on the eyes, and giving it some texture is often a great idea.
Thanks for checking in on my blog today. I hope you get to create something fun today.
Ingredients:
CS: Stampin' Up! Whisper White (white letters), Neenah Classic Crest Solar White 110lb (colored sentiment), Stampin' Up! Bermuda Bay
Stamps and dies: Poppystamps Marzipan Greetings Stamp and die set
Markers: 1 purple Copic, 1 turquoise Copic
Embellisments: purple from my stash, turquoise is Poppystamps Christmas Fairy Jewels


Post a Comment