

What’s the logical thing to do after a 12-day vacation in the mountains of Colorado? Make a beach-themed card! I used the brand new Whimsical Skies embossing folder from Spellbinders and inked one side of it with 4 colors of Distress Oxides: Spiced Marmalade, Fossilized Amber, Tumbled Glass and Peacock Feathers. I used my oldest foam blenders to blend the ink colors together, leaving a bit of white space in the middle so I didn’t create green. I ran it through my embossing folder and cut the piece of 4.25 x 6” to make an A6 card that would work out to 4.5 x 6.25”. I am really enjoying this size, so a big thanks to Jennifer McGuire for introducing me to it.
Next, I used Spellbinders cardstock in Tuscan, Saffron and Beeswax to cut out the sun dies in the new Village Companions die set that are also a part of the Whimsical Village new release from Spellbinders. I cut several clouds from white cardstock.

I heat embossed the sentiment from the Whimsical Wishes stamp set by Spellbinders onto a piece of Waterfall cardstock. Next, I used the Sentiment Labels die set from Spellbinders to cut out the label and frame - the frame is Teal Topaz. Finally, I cut the skinny “string” die in the set from white cardstock.
I wanted to add some more color oomph to the card so I ripped a small piece of Teal Topaz and Beeswax to glue at the top and the bottom of the card.
I adhered the label sentiment first, then I used either liquid glue or thin foam adhesive to attach the clouds and sun. I matted the entire panel on an A6 size piece of white cardstock (4.5” x 6.25”).
I am entering this into today’s Simon Says Stamp Monday Challenge.
Affiliate links are used in this post at no cost to you. This means I may receive a small commission when you click through and shop using the links I provide. This helps support me in creating and posting my crafts. Items marked with an asterisk * at first mention were provided by a store or manufacturer. Otherwise, all items were purchased by me.
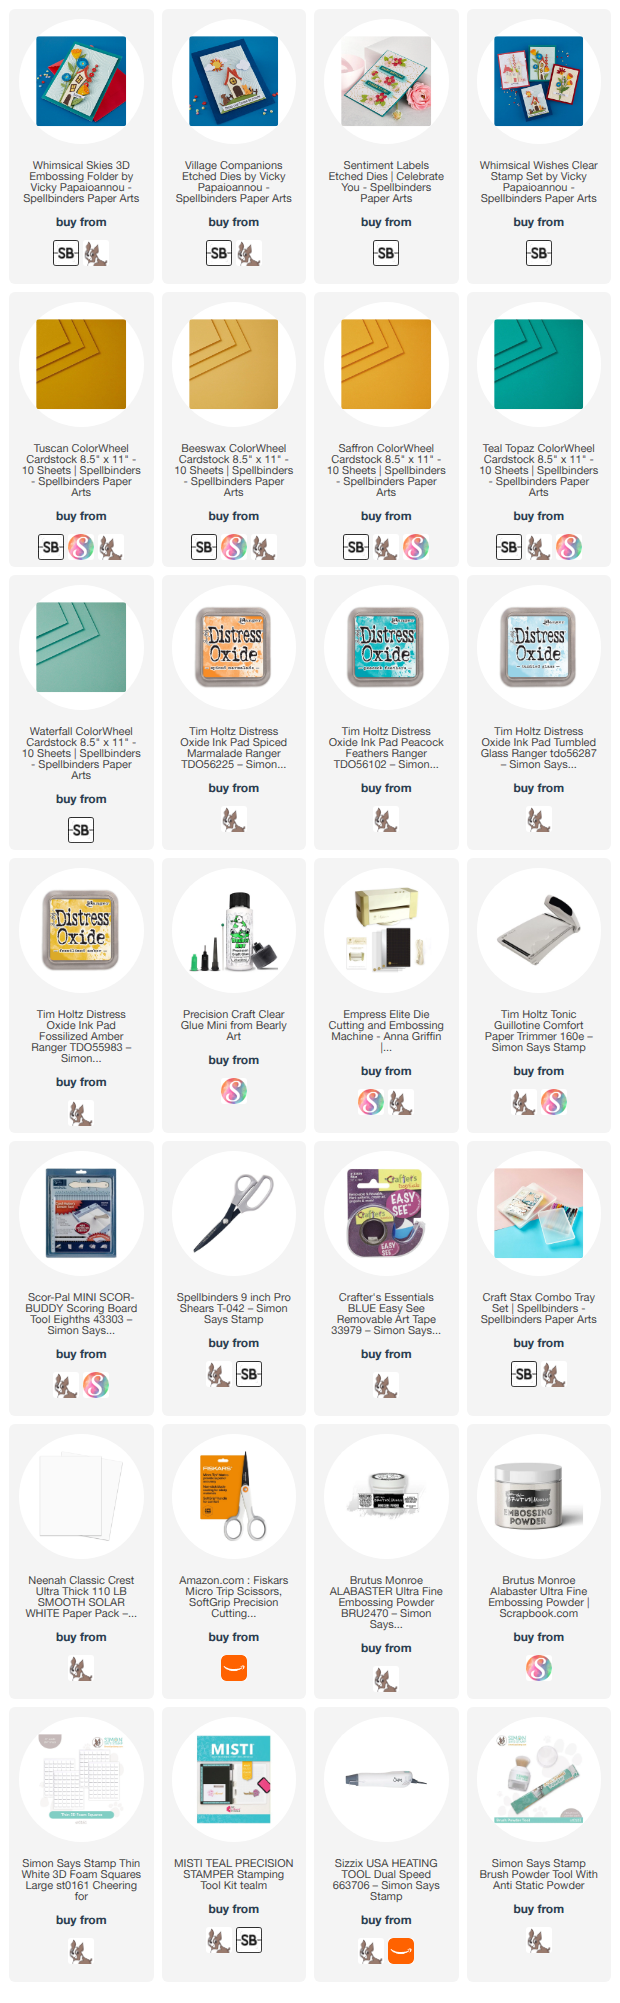
What’s the logical thing to do after a 12-day vacation in the mountains of Colorado? Make a beach-themed card! I used the brand new Whimsical Skies embossing folder from Spellbinders and inked one side of it with 4 colors of Distress Oxides: Spiced Marmalade, Fossilized Amber, Tumbled Glass and Peacock Feathers. I used my oldest foam blenders to blend the ink colors together, leaving a bit of white space in the middle so I didn’t create green. I ran it through my embossing folder and cut the piece of 4.25 x 6” to make an A6 card that would work out to 4.5 x 6.25”. I am really enjoying this size, so a big thanks to Jennifer McGuire for introducing me to it.
Next, I used Spellbinders cardstock in Tuscan, Saffron and Beeswax to cut out the sun dies in the new Village Companions die set that are also a part of the Whimsical Village new release from Spellbinders. I cut several clouds from white cardstock.
I heat embossed the sentiment from the Whimsical Wishes stamp set by Spellbinders onto a piece of Waterfall cardstock. Next, I used the Sentiment Labels die set from Spellbinders to cut out the label and frame - the frame is Teal Topaz. Finally, I cut the skinny “string” die in the set from white cardstock.
I wanted to add some more color oomph to the card so I ripped a small piece of Teal Topaz and Beeswax to glue at the top and the bottom of the card.
I adhered the label sentiment first, then I used either liquid glue or thin foam adhesive to attach the clouds and sun. I matted the entire panel on an A6 size piece of white cardstock (4.5” x 6.25”).
I am entering this into today’s Simon Says Stamp Monday Challenge.
Affiliate links are used in this post at no cost to you. This means I may receive a small commission when you click through and shop using the links I provide. This helps support me in creating and posting my crafts. Items marked with an asterisk * at first mention were provided by a store or manufacturer. Otherwise, all items were purchased by me.

Introducing the Whimsical Village* by Vicky Papaioannou for Spellbinders. This adorable collection includes so many fantastic pieces and add-ons, along with a fun swirly embossing folder, and a cute typewriter-style sentiment set.
Here I used heavy white cardstock to do three things. 1. I dry embossed a white A6 panel with the Whimsical Skies* 3D embossing folder. 2. I die cut some adorable little embossed clouds with the Village Companions* die set. 3. I cut 3 cute houses from the Whimsical Houses* die set.

Next, I used 3 colors of polka-dotted paper to die cut the same three houses and glued these onto the white cut outs for support, since my dotted paper was thin. I used gray, light blue, orange, red and pink Spellbinders cardstock to cut the house details.
I used Brutus Monroe’s Alabaster embossing powder to heat emboss my sentiment from the Whimsical Wishes* Stamp set onto a label using the Sentiment Labels die set. The “string” is part of the die set and is just white cardstock. Love that detail.
I adhered everything with foam adhesive tape and liquid glue.
Affiliate links are used in this post at no cost to you. This means I may receive a small commission when you click through and shop using the links I provide. This helps support me in creating and posting my crafts. Items marked with an asterisk * at first mention were provided by a store or manufacturer. Otherwise, all items were purchased by me.
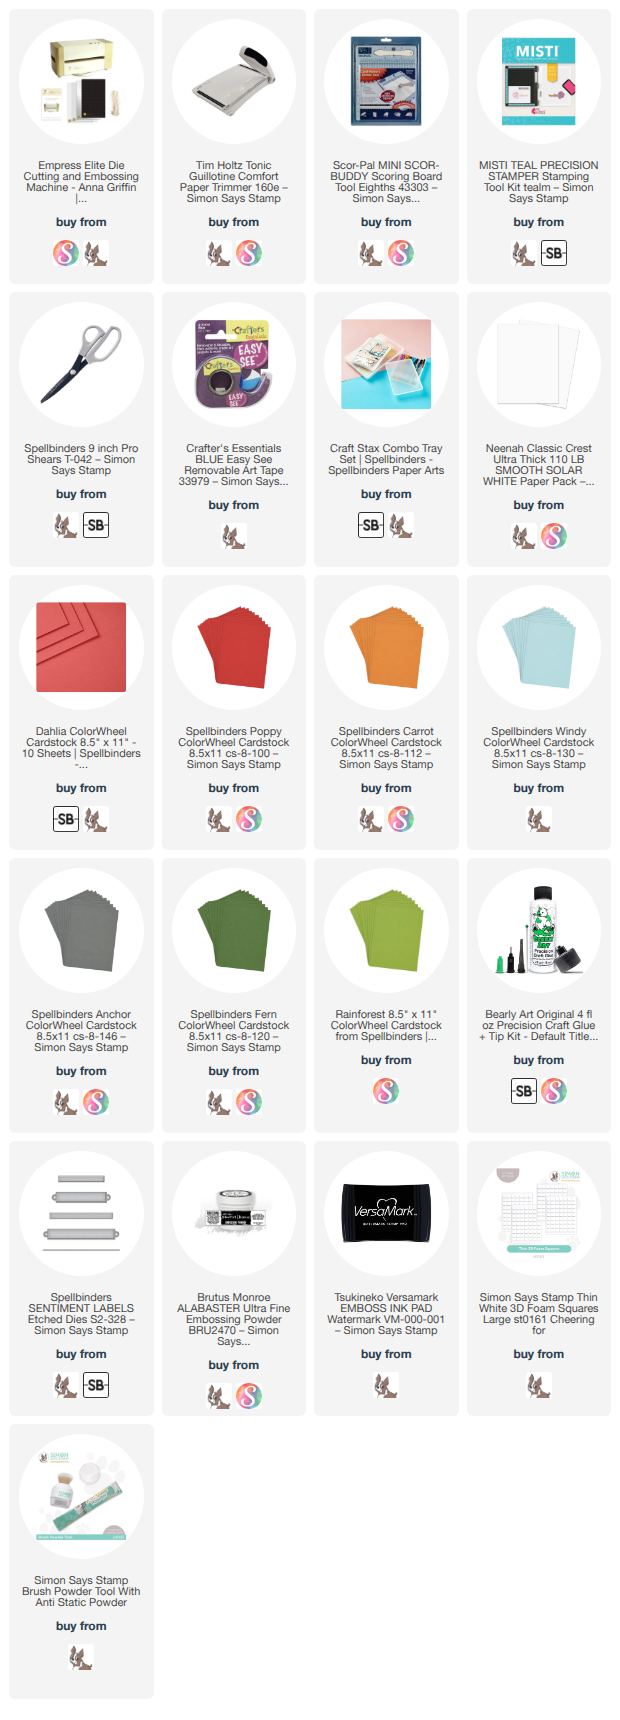
Introducing the Whimsical Village* by Vicky Papaioannou for Spellbinders. This adorable collection includes so many fantastic pieces and add-ons, along with a fun swirly embossing folder, and a cute typewriter-style sentiment set.
Here I used heavy white cardstock to do three things. 1. I dry embossed a white A6 panel with the Whimsical Skies* 3D embossing folder. 2. I die cut some adorable little embossed clouds with the Village Companions* die set. 3. I cut 3 cute houses from the Whimsical Houses* die set.
Next, I used 3 colors of polka-dotted paper to die cut the same three houses and glued these onto the white cut outs for support, since my dotted paper was thin. I used gray, light blue, orange, red and pink Spellbinders cardstock to cut the house details.
I used Brutus Monroe’s Alabaster embossing powder to heat emboss my sentiment from the Whimsical Wishes* Stamp set onto a label using the Sentiment Labels die set. The “string” is part of the die set and is just white cardstock. Love that detail.
I adhered everything with foam adhesive tape and liquid glue.
Affiliate links are used in this post at no cost to you. This means I may receive a small commission when you click through and shop using the links I provide. This helps support me in creating and posting my crafts. Items marked with an asterisk * at first mention were provided by a store or manufacturer. Otherwise, all items were purchased by me.
I adore typography. I even took a class in typography at my local community college back in the early 90s. I love to collect fun fonts and I have an entire Pinterest board dedicated to typography. When I found this cool Floral & and Sentiment Press Plate at Spellbinders, I had to have it. One of the nicest things about this set is that the Happy Birthday and the Many More are separate pieces. This means I can foil my heart out with just the birthday plate and nothing else.

For this card, I decided to experiment with the A6 size that Jennifer keeps promoting on her YouTube lives. It IS a really fun size. That means you are looking at a card that is 4.5” x 6.25”.
I started with using the ampersand and sentiment press plates on Stampin’ Up! Crumb Cake cardstock. I chose the Spellbinders Copper Glimmer foil because I just love all things copper. Copper is so unexpected and warm. I used the Spellbinders Modern Ovals nested die set to cut out the ampersand and the coordinating dies to cut the sentiments.

I used Tim Holtz’s Distress Watercolor Pencils in Broken China and Bundled Sage (both in Set 6) to color in the flowers and leaves on the ampersand. I used the gorgeous Oceanside cardstock from Spellbinders for the larger oval and the A6 base of the card. The textured and patterned paper in the background is unique. It is printed as you see it. I have not done anything to it except cut it to 4.25” x 6”. I picked up this paper in the “giveaways” pile at a crafting event with friends. Lucky me. There is a high chance it is from Club Scrap.Finally, the hole-less sequins are from Pink & Main. They are called Peaches and Cream.
Tell me - have you made any A6 cards?
Affiliate links are used in this post at no cost to you. This means I may receive a small commission when you click through and shop using the links I provide. This helps support me in creating and posting my crafts. Items marked with an asterisk * at first mention were provided by a store or manufacturer. Otherwise, all items were purchased by me. I do not get paid to promote any products.
SUPPLIES USED
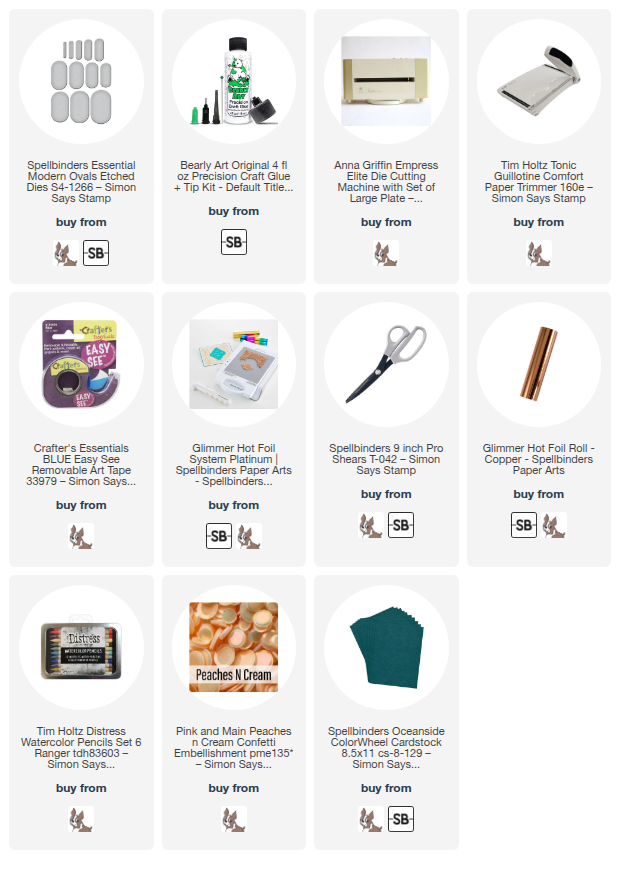
I adore typography. I even took a class in typography at my local community college back in the early 90s. I love to collect fun fonts and I have an entire Pinterest board dedicated to typography. When I found this cool Floral & and Sentiment Press Plate at Spellbinders, I had to have it. One of the nicest things about this set is that the Happy Birthday and the Many More are separate pieces. This means I can foil my heart out with just the birthday plate and nothing else.
For this card, I decided to experiment with the A6 size that Jennifer keeps promoting on her YouTube lives. It IS a really fun size. That means you are looking at a card that is 4.5” x 6.25”.
I started with using the ampersand and sentiment press plates on Stampin’ Up! Crumb Cake cardstock. I chose the Spellbinders Copper Glimmer foil because I just love all things copper. Copper is so unexpected and warm. I used the Spellbinders Modern Ovals nested die set to cut out the ampersand and the coordinating dies to cut the sentiments.
I used Tim Holtz’s Distress Watercolor Pencils in Broken China and Bundled Sage (both in Set 6) to color in the flowers and leaves on the ampersand. I used the gorgeous Oceanside cardstock from Spellbinders for the larger oval and the A6 base of the card. The textured and patterned paper in the background is unique. It is printed as you see it. I have not done anything to it except cut it to 4.25” x 6”. I picked up this paper in the “giveaways” pile at a crafting event with friends. Lucky me. There is a high chance it is from Club Scrap.Finally, the hole-less sequins are from Pink & Main. They are called Peaches and Cream.
Tell me - have you made any A6 cards?
Affiliate links are used in this post at no cost to you. This means I may receive a small commission when you click through and shop using the links I provide. This helps support me in creating and posting my crafts. Items marked with an asterisk * at first mention were provided by a store or manufacturer. Otherwise, all items were purchased by me. I do not get paid to promote any products.
SUPPLIES USED

