

Happy STAMPtember from me to you! It’s a thrill to be participating as a member of the Simon Says Stamp Designer Family in my first STAMPtember. All my projects will use the elegant and easy-to-use Harvest Blessings stamp set*. When I opened my up my package from Simon Says Stamp and I saw all the pumpkins and gourds on the stamp set, I thought “they know me!” You see, I LOVE pumpkins. I decorate my home for fall in almost every room. I have pumpkins made of ceramic, glass, wicker, wood, plastic, and sweater material. I have a giant ivory-colored pumpkin platter (from Crate & Barrel eons ago) that sits on a shelf in my kitchen almost year round, except for December. I have a coffee mug that says “Crazy Pumpkin Lady” that I bought from Joann’s (#RIP).

Anyway, it was easy to come up with ideas for this set. For this first card, I decided to treat the solid-image stamps to my Distress Oxide inks. So that I could overlap the images, I used masks made from Post-It Notes to cover the images I stamped and didn’t want to stamp on top of. I used Rusty Hinge, Dusty Concord, Broken China, and Peeled Paint, along with Ground Espresso Distress Ink for the stems. After doing this stamping in a vertical line on a piece of Neenah Desert Storm cardstock, I splattered it with my Dr. Ph. Martin Bombay India Ink in Sepia. However, an equally good choice for this dark brown splatter is Tim Holtz’s Distress Spray in Ground Espresso. Just flick it from the little straw inside the bottle, instead of spraying it.
When my ink and my splatter were dry, I fussy cut the right edge of the stacked gourds as shown. I laid this edge down on some dark brown cardstock and traced it with a pencil. Next, I fussy cut the edge of the brown paper so I could make the shadow behind the gourds. I glued this thin piece behind the gourd piece.
Next came the leaves. I stamped the 2 leaf shapes in the stamp set onto the same Desert Storm cardstock with Versamark and heat embossed them with Lindy’s Gang Twilight Bronze embossing powder. If you have trouble finding this one, any dark, metallic embossing powder would work great. Gold would work perfectly too. I glued the leaves as shown onto my stamped piece.
I took a piece of purple cardstock (my best match for the Dusty Concord Distress Ink, I’ve linked to the Simon Says Stamp Eggplant cardstock below as I think it would be ideal) and dry embossed a piece of 4.5 x 6” cardstock with a favorite: Simon Says Stamp’s Tiny Tufts embossing folder. I purposedly used a larger than A2 piece for this as the dry embossing sort of “shrinks” the size of the paper because of the impressions it makes. Next, I cut it to an A2 size of 4.25” x 5.5”.
I built this card in an odd way - I took the purple piece and glued it to a cardbase made of Neenah Classic Crest 110lb cover stock in white. Then, I took the stamped piece (with the brown glued on the back) and scored it and folded it over the left side of the card. It made it kinda chunky and I might do this differently next time.
I then die cut Simon Says Stamp’s Boho Celebrate die three times from dark brown cardstock. I stacked two of them and glued them together, and then smooshed my Versamark inkpad onto the top one and again heat embossed with the same Twilight Bronze embossing powder. I cut the third die cut in half and glued only the right half onto the back of the word. I did this because the word was going to be glued down on the higher left side, and then hang over the lower embossed purple panel (I really hope that made sense [said no AI ever]). I was happy with how it all worked out.
Enjoy this Stamptember month at Simons Says Stamp and tune it every day for some fun surprises. By the way, the Harvest Blessings stamp set WILL be available past Stamptember.
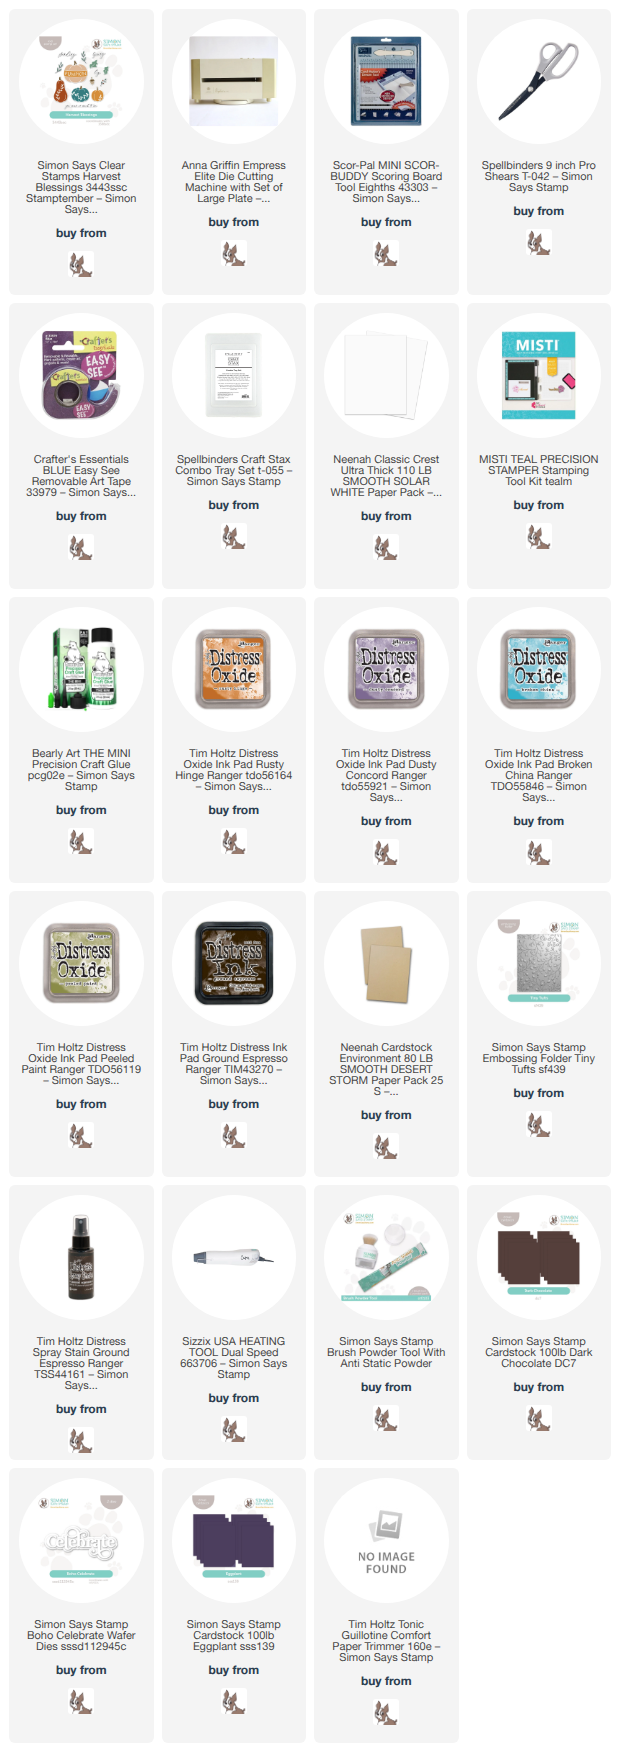
Thanks!
Happy STAMPtember from me to you! It’s a thrill to be participating as a member of the Simon Says Stamp Designer Family in my first STAMPtember. All my projects will use the elegant and easy-to-use Harvest Blessings stamp set*. When I opened my up my package from Simon Says Stamp and I saw all the pumpkins and gourds on the stamp set, I thought “they know me!” You see, I LOVE pumpkins. I decorate my home for fall in almost every room. I have pumpkins made of ceramic, glass, wicker, wood, plastic, and sweater material. I have a giant ivory-colored pumpkin platter (from Crate & Barrel eons ago) that sits on a shelf in my kitchen almost year round, except for December. I have a coffee mug that says “Crazy Pumpkin Lady” that I bought from Joann’s (#RIP).
Anyway, it was easy to come up with ideas for this set. For this first card, I decided to treat the solid-image stamps to my Distress Oxide inks. So that I could overlap the images, I used masks made from Post-It Notes to cover the images I stamped and didn’t want to stamp on top of. I used Rusty Hinge, Dusty Concord, Broken China, and Peeled Paint, along with Ground Espresso Distress Ink for the stems. After doing this stamping in a vertical line on a piece of Neenah Desert Storm cardstock, I splattered it with my Dr. Ph. Martin Bombay India Ink in Sepia. However, an equally good choice for this dark brown splatter is Tim Holtz’s Distress Spray in Ground Espresso. Just flick it from the little straw inside the bottle, instead of spraying it.
When my ink and my splatter were dry, I fussy cut the right edge of the stacked gourds as shown. I laid this edge down on some dark brown cardstock and traced it with a pencil. Next, I fussy cut the edge of the brown paper so I could make the shadow behind the gourds. I glued this thin piece behind the gourd piece.
Next came the leaves. I stamped the 2 leaf shapes in the stamp set onto the same Desert Storm cardstock with Versamark and heat embossed them with Lindy’s Gang Twilight Bronze embossing powder. If you have trouble finding this one, any dark, metallic embossing powder would work great. Gold would work perfectly too. I glued the leaves as shown onto my stamped piece.
I took a piece of purple cardstock (my best match for the Dusty Concord Distress Ink, I’ve linked to the Simon Says Stamp Eggplant cardstock below as I think it would be ideal) and dry embossed a piece of 4.5 x 6” cardstock with a favorite: Simon Says Stamp’s Tiny Tufts embossing folder. I purposedly used a larger than A2 piece for this as the dry embossing sort of “shrinks” the size of the paper because of the impressions it makes. Next, I cut it to an A2 size of 4.25” x 5.5”.
I built this card in an odd way - I took the purple piece and glued it to a cardbase made of Neenah Classic Crest 110lb cover stock in white. Then, I took the stamped piece (with the brown glued on the back) and scored it and folded it over the left side of the card. It made it kinda chunky and I might do this differently next time.
I then die cut Simon Says Stamp’s Boho Celebrate die three times from dark brown cardstock. I stacked two of them and glued them together, and then smooshed my Versamark inkpad onto the top one and again heat embossed with the same Twilight Bronze embossing powder. I cut the third die cut in half and glued only the right half onto the back of the word. I did this because the word was going to be glued down on the higher left side, and then hang over the lower embossed purple panel (I really hope that made sense [said no AI ever]). I was happy with how it all worked out.
Enjoy this Stamptember month at Simons Says Stamp and tune it every day for some fun surprises. By the way, the Harvest Blessings stamp set WILL be available past Stamptember.
Thanks!

If this card looks familiar it’s because it is a carefully made CASE of a card posted by the uber talented Martin Stone of @martinmayhem on February 4. His blog post on it is here. Instagram post is here.
You’ve probably had it happen to you where you see something and HAVE TO make it. I went so far as to get the retired stamp and die set, called Happiness Abounds, off eBay (very reasonable price, thank goodness) in order to make this card. Since then I have made other cards with the stamps and dies. I think if I were stuck on a deserted island with my craft supplies I'd take this stamp and die set with me, it's so good.
One game-changing idea I learned from Martin’s Mayhem is how to alter a diecut to better match the color of your card. When you stamp an image on white cardstock, color it, and die cut it, you end up with a white outline around the image. Sometimes it works with your design and sometimes the white is just too stark. On this card, Martin colored the white outline with alcohol ink markers to fit in better with his card. Now I've started doing that (I used watercolor here) and I'm loving the results.

I stamped the flowers from Happiness Abounds (retired) on watercolor cardstock with black Distress Archival Ink and watercolored the inside of the images with Zig Clean Color Real Brush markers (I know Dull Blue was one of the colors). I used a waterbrush with Fossilized Amber Distress Ink to color the leaves, and then with Misty Moonlight ink to color the outside edge of the images, just before I die cut them. After this, I splattered the image with white ink. Specifically, I used Dr. Ph. Martin's Pen-White ink. I am splatter-impaired and both the black and white ink from Dr. Ph. Martin's allows me to use a small paintbrush to make tiny splatters with NO giant blobs falling on my paper. It dries super fast and I think I am "cured" from my impairment.
I stamped the sentiment from another amazing SU stamp set called Good Feelings with black Memento ink onto 80lb white cardstock, and used one of the dies in the Happiness Abounds stamp set to get the spiral notebook edge at the top.
I assembled it to copy his card as best I could, adding lots of different bling when I was done. I was very happy with the results. Thanks, Martin.
What I've used here :
Cardstock: Watercolor paper, 80lb Hammermill Premium Color Copy Cover, Stampin’ Up! Misty Moonlight
Stamps: Happiness Abounds (plus matching dies), Good Feelings, both by Stampin' Up!
Ink: Distress Archival Ink in Black Soot, Memento Black Tuxedo Ink, Distress Ink Fossilized Amber
Other: Zig Clean Color Real Brush Markers, Dr. Ph. Martin's Pen-White ink for white splatter.
If this card looks familiar it’s because it is a carefully made CASE of a card posted by the uber talented Martin Stone of @martinmayhem on February 4. His blog post on it is here. Instagram post is here.
You’ve probably had it happen to you where you see something and HAVE TO make it. I went so far as to get the retired stamp and die set, called Happiness Abounds, off eBay (very reasonable price, thank goodness) in order to make this card. Since then I have made other cards with the stamps and dies. I think if I were stuck on a deserted island with my craft supplies I'd take this stamp and die set with me, it's so good.
One game-changing idea I learned from Martin’s Mayhem is how to alter a diecut to better match the color of your card. When you stamp an image on white cardstock, color it, and die cut it, you end up with a white outline around the image. Sometimes it works with your design and sometimes the white is just too stark. On this card, Martin colored the white outline with alcohol ink markers to fit in better with his card. Now I've started doing that (I used watercolor here) and I'm loving the results.
I stamped the flowers from Happiness Abounds (retired) on watercolor cardstock with black Distress Archival Ink and watercolored the inside of the images with Zig Clean Color Real Brush markers (I know Dull Blue was one of the colors). I used a waterbrush with Fossilized Amber Distress Ink to color the leaves, and then with Misty Moonlight ink to color the outside edge of the images, just before I die cut them. After this, I splattered the image with white ink. Specifically, I used Dr. Ph. Martin's Pen-White ink. I am splatter-impaired and both the black and white ink from Dr. Ph. Martin's allows me to use a small paintbrush to make tiny splatters with NO giant blobs falling on my paper. It dries super fast and I think I am "cured" from my impairment.
I stamped the sentiment from another amazing SU stamp set called Good Feelings with black Memento ink onto 80lb white cardstock, and used one of the dies in the Happiness Abounds stamp set to get the spiral notebook edge at the top.
I assembled it to copy his card as best I could, adding lots of different bling when I was done. I was very happy with the results. Thanks, Martin.
What I've used here :
Cardstock: Watercolor paper, 80lb Hammermill Premium Color Copy Cover, Stampin’ Up! Misty Moonlight
Stamps: Happiness Abounds (plus matching dies), Good Feelings, both by Stampin' Up!
Ink: Distress Archival Ink in Black Soot, Memento Black Tuxedo Ink, Distress Ink Fossilized Amber
Other: Zig Clean Color Real Brush Markers, Dr. Ph. Martin's Pen-White ink for white splatter.

