

With the 30 tiny little images featured in the Here Comes Santa Claus stamp set*, there are a lot of things you can do. This sweet set is part of the Joy For You release from Simon Says Stamp. I decided to make each image its own star — literally and figuratively. I took a sheet of Lawn Fawn Vanilla Malt cardstock and cut an A2 card base. Next, I took the other half of the sheet and die cut 11 stars of all different sizes using a set of nested stars dies. I have had my dies a long time, but I can recommend the Simon Says Stamp Nested Stars Wafer Dies.
I stamped on each star, using my MISTI, using Concord & 9th Rainforest ink, Altenew Dark Night ink, and Altenew Plum ink. Then I carefully ink blended around the edges of each star with the same ink using my Waffle Flower Shader 1+ blending brushes.

I took a small piece of my leftover Vanilla Malt cardstock and dry embossed it with the Simon Says Stamp Tiny Tufts Embossing Folder. I cut it to be about 1.5” x 5.25”. I took another small piece and stamped the Many Blessings sentiment with the Dark Night ink. I took a small scrap of navy blue cardstock and cut both it and the sentiment into rhomboid shapes and glued them together.
I took my cardbase and cut off about 1” of the top flap. Then I glued on a strip (about 1/4”) of matte gold cardstock on the edge of that. Again, I’ve had mine awhile, but it seems identical to the Simon Says Stamp Matte Gold Cardstock. I also glued my dry embossed strip of cardstock to the back flap, so it showed at the front.
Next, based on an arrangement I had figured out before I started stamping, I adhered all the stars onto the cut front flap using Simon Says Stamp Black Foam Adhesive Squares. I trimmed down the stars on every edge (not easy on the right side since they were not hanging off the edge). I glued down the sentiment onto my largest star.
Finally, I added some Pinkfresh Studio Metallic Pearls in Matte Gold. I love matte gold at Christmas.
If you shop from the highlighted product links above, I may receive a small commission at no cost to you. It is much appreciated and helps fund my crafting. Also, any item first marked with an asterisk * was provided by an online store. Otherwise, I bought my supplies.
With the 30 tiny little images featured in the Here Comes Santa Claus stamp set*, there are a lot of things you can do. This sweet set is part of the Joy For You release from Simon Says Stamp. I decided to make each image its own star — literally and figuratively. I took a sheet of Lawn Fawn Vanilla Malt cardstock and cut an A2 card base. Next, I took the other half of the sheet and die cut 11 stars of all different sizes using a set of nested stars dies. I have had my dies a long time, but I can recommend the Simon Says Stamp Nested Stars Wafer Dies.
I stamped on each star, using my MISTI, using Concord & 9th Rainforest ink, Altenew Dark Night ink, and Altenew Plum ink. Then I carefully ink blended around the edges of each star with the same ink using my Waffle Flower Shader 1+ blending brushes.
I took a small piece of my leftover Vanilla Malt cardstock and dry embossed it with the Simon Says Stamp Tiny Tufts Embossing Folder. I cut it to be about 1.5” x 5.25”. I took another small piece and stamped the Many Blessings sentiment with the Dark Night ink. I took a small scrap of navy blue cardstock and cut both it and the sentiment into rhomboid shapes and glued them together.
I took my cardbase and cut off about 1” of the top flap. Then I glued on a strip (about 1/4”) of matte gold cardstock on the edge of that. Again, I’ve had mine awhile, but it seems identical to the Simon Says Stamp Matte Gold Cardstock. I also glued my dry embossed strip of cardstock to the back flap, so it showed at the front.
Next, based on an arrangement I had figured out before I started stamping, I adhered all the stars onto the cut front flap using Simon Says Stamp Black Foam Adhesive Squares. I trimmed down the stars on every edge (not easy on the right side since they were not hanging off the edge). I glued down the sentiment onto my largest star.
Finally, I added some Pinkfresh Studio Metallic Pearls in Matte Gold. I love matte gold at Christmas.
If you shop from the highlighted product links above, I may receive a small commission at no cost to you. It is much appreciated and helps fund my crafting. Also, any item first marked with an asterisk * was provided by an online store. Otherwise, I bought my supplies.


Welcome! This was a fun card to make. Even though I am “the Crazy Pumpkin Lady” and decorate my home with countless pumpkins in autumn, I don’t have any blue pumpkins (I do have a teal one, however). The ideal range of colors come from Altenew’s Tranquility line of inks, a gorgeous set of blue-gray colors that include Cloudy Sky, Nimbus, and Misty Morning. I used Altenew’s Misty Morning for the lightest blue and smallest pumpkin. Since I need to reink my Altenew pads, I chose 2 other blues very similar to Altenew's for the darker pumpkins. I first stamped the largest pumpkin in 2 steps: first the blue pumpkin and then the Thanks phrase in the middle using Hero Arts Wet Cement.

I used Hero Arts Wet Cement inkpad for the stems. I used Concord & 9th’s Stardust for the leaves and acorn bottom. I fussy cut all the images and glued the gourds together with the yellow leaves. I lightly ink blended a white cardstock panel with one of my blue inks (can’t remember which one but probably Misty Morning). I stamped the ‘you mean so much to me’ sentiment in Versa Fine Clair ink in Pinecone to get a super crisp, dark brown image. The white leaves in the background all come from Trinity Stamps’ Wildflower Clippings die set. I used a tan thread nest behind this.
The textured background comes from a very old Tim Holtz embossing folder called Gridlock (retired, but eBay has several at good prices). I edged the 2 white background pieces with my Tim Holtz Tonic Paper Distresser. I assembled everything as shown, using both foam tape and glue, attaching the tiny acorn to sit just over my sentiment.
If you shop from the links below. I may receive a small commission at no cost to you. It is much appreciated and helps fund my crafting. Also, any item first marked with an asterisk * was provided by an online store. Otherwise, I bought my supplies.
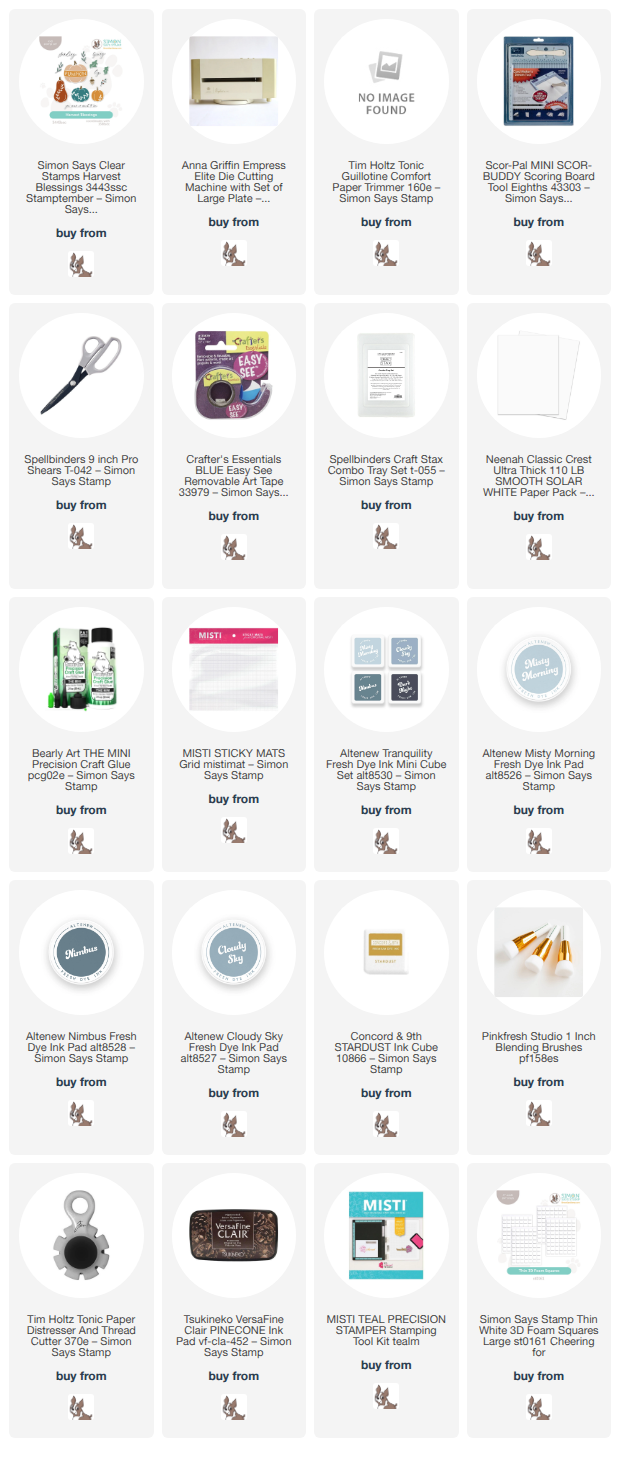
Welcome! This was a fun card to make. Even though I am “the Crazy Pumpkin Lady” and decorate my home with countless pumpkins in autumn, I don’t have any blue pumpkins (I do have a teal one, however). The ideal range of colors come from Altenew’s Tranquility line of inks, a gorgeous set of blue-gray colors that include Cloudy Sky, Nimbus, and Misty Morning. I used Altenew’s Misty Morning for the lightest blue and smallest pumpkin. Since I need to reink my Altenew pads, I chose 2 other blues very similar to Altenew's for the darker pumpkins. I first stamped the largest pumpkin in 2 steps: first the blue pumpkin and then the Thanks phrase in the middle using Hero Arts Wet Cement.
I used Hero Arts Wet Cement inkpad for the stems. I used Concord & 9th’s Stardust for the leaves and acorn bottom. I fussy cut all the images and glued the gourds together with the yellow leaves. I lightly ink blended a white cardstock panel with one of my blue inks (can’t remember which one but probably Misty Morning). I stamped the ‘you mean so much to me’ sentiment in Versa Fine Clair ink in Pinecone to get a super crisp, dark brown image. The white leaves in the background all come from Trinity Stamps’ Wildflower Clippings die set. I used a tan thread nest behind this.
The textured background comes from a very old Tim Holtz embossing folder called Gridlock (retired, but eBay has several at good prices). I edged the 2 white background pieces with my Tim Holtz Tonic Paper Distresser. I assembled everything as shown, using both foam tape and glue, attaching the tiny acorn to sit just over my sentiment.
If you shop from the links below. I may receive a small commission at no cost to you. It is much appreciated and helps fund my crafting. Also, any item first marked with an asterisk * was provided by an online store. Otherwise, I bought my supplies.

I'm a little embarrassed to admit that I have never delved into the glorious world that is Altenew florals until now. I've admired and swooned over Pinterest images of their cards. I've gasped at the gorgeous makes I see on Instagram. Finally, I purchased a stamp and die set from an Altenew Buy & Sell group and it sat for awhile. I always have 50 cards in my head that I want to make, but sometimes it takes weeks or months to get to them. I found a nice color challenge online and decided now was the time to break out the Altenew Beautiful Day stamp and die set. I was not disappointed.

I'm a little embarrassed to admit that I have never delved into the glorious world that is Altenew florals until now. I've admired and swooned over Pinterest images of their cards. I've gasped at the gorgeous makes I see on Instagram. Finally, I purchased a stamp and die set from an Altenew Buy & Sell group and it sat for awhile. I always have 50 cards in my head that I want to make, but sometimes it takes weeks or months to get to them. I found a nice color challenge online and decided now was the time to break out the Altenew Beautiful Day stamp and die set. I was not disappointed.


