


Welcome! This was a fun card to make. Even though I am “the Crazy Pumpkin Lady” and decorate my home with countless pumpkins in autumn, I don’t have any blue pumpkins (I do have a teal one, however). The ideal range of colors come from Altenew’s Tranquility line of inks, a gorgeous set of blue-gray colors that include Cloudy Sky, Nimbus, and Misty Morning. I used Altenew’s Misty Morning for the lightest blue and smallest pumpkin. Since I need to reink my Altenew pads, I chose 2 other blues very similar to Altenew's for the darker pumpkins. I first stamped the largest pumpkin in 2 steps: first the blue pumpkin and then the Thanks phrase in the middle using Hero Arts Wet Cement.

I used Hero Arts Wet Cement inkpad for the stems. I used Concord & 9th’s Stardust for the leaves and acorn bottom. I fussy cut all the images and glued the gourds together with the yellow leaves. I lightly ink blended a white cardstock panel with one of my blue inks (can’t remember which one but probably Misty Morning). I stamped the ‘you mean so much to me’ sentiment in Versa Fine Clair ink in Pinecone to get a super crisp, dark brown image. The white leaves in the background all come from Trinity Stamps’ Wildflower Clippings die set. I used a tan thread nest behind this.
The textured background comes from a very old Tim Holtz embossing folder called Gridlock (retired, but eBay has several at good prices). I edged the 2 white background pieces with my Tim Holtz Tonic Paper Distresser. I assembled everything as shown, using both foam tape and glue, attaching the tiny acorn to sit just over my sentiment.
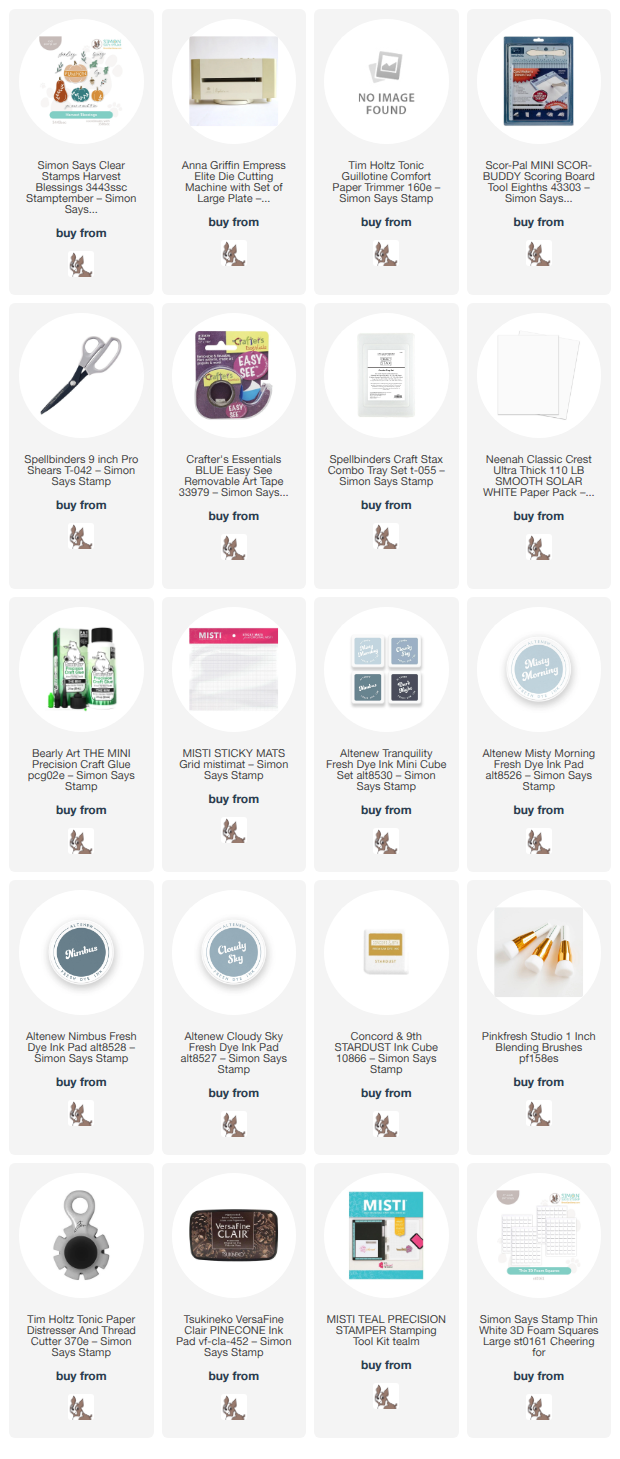
If you shop from the links below. I may receive a small commission at no cost to you. It is much appreciated and helps fund my crafting. Also, any item first marked with an asterisk * was provided by an online store. Otherwise, I bought my supplies.
Welcome! This was a fun card to make. Even though I am “the Crazy Pumpkin Lady” and decorate my home with countless pumpkins in autumn, I don’t have any blue pumpkins (I do have a teal one, however). The ideal range of colors come from Altenew’s Tranquility line of inks, a gorgeous set of blue-gray colors that include Cloudy Sky, Nimbus, and Misty Morning. I used Altenew’s Misty Morning for the lightest blue and smallest pumpkin. Since I need to reink my Altenew pads, I chose 2 other blues very similar to Altenew's for the darker pumpkins. I first stamped the largest pumpkin in 2 steps: first the blue pumpkin and then the Thanks phrase in the middle using Hero Arts Wet Cement.
I used Hero Arts Wet Cement inkpad for the stems. I used Concord & 9th’s Stardust for the leaves and acorn bottom. I fussy cut all the images and glued the gourds together with the yellow leaves. I lightly ink blended a white cardstock panel with one of my blue inks (can’t remember which one but probably Misty Morning). I stamped the ‘you mean so much to me’ sentiment in Versa Fine Clair ink in Pinecone to get a super crisp, dark brown image. The white leaves in the background all come from Trinity Stamps’ Wildflower Clippings die set. I used a tan thread nest behind this.
The textured background comes from a very old Tim Holtz embossing folder called Gridlock (retired, but eBay has several at good prices). I edged the 2 white background pieces with my Tim Holtz Tonic Paper Distresser. I assembled everything as shown, using both foam tape and glue, attaching the tiny acorn to sit just over my sentiment.
If you shop from the links below. I may receive a small commission at no cost to you. It is much appreciated and helps fund my crafting. Also, any item first marked with an asterisk * was provided by an online store. Otherwise, I bought my supplies.

I recently got several packages of Tim Holtz’s Palette Paper Collection. It is absolutely dreamy. I’m so glad I got the Orange Tim Holtz 8x8 Palette Paper Collection, because it made the most ideal carrots. I used the Tim Holtz Abstract Elements die set to cut out 3 different sizes of carrots and then I edged them with Rusty Hinge Distress Ink to really make the orange pop. I used one die from Trinity Stamps Wildflower Clippings die set to create the carrot tops, cut from watercolor paper sprayed with Peeled Paint Distress Spray Stain.
I created Mr. McGregor’s Garden by taking Canson XL watercolor paper and dipping and drying it in a series of inks and sprays: Vintage Photo and Ground Espresso inkpads along with Frayed Burlap and Walnut Stain Spray Stains. I made dirt! I die cut this one large piece using the Lawn Fawn Puffy Clouds Border dies and a die from the retired Mama Elephant Slim Window Dressings Die Set. It was a bit of a trick getting the carrots glued just where I wanted them and then gluing the levels of dirt all together. I’m sure I did it the hard way.

I computer printed the “Mr. McGregor’s Garden” text onto Stampin’ Up! Crumb Cake paper and then cut it out (along with some green cardstock) using the sign dies out of the Tim Holtz Road Trip die set.
I made a tiny sentiment from the old Colorado Craft Company Bunnies and Robin stamp set.
I used a homemade cloud stencil along with Tumbled Glass Distress Ink to inkblend clouds in the sky.
I adhered the entire garden scene with foam tape on top of the cloud background. I was happy with how my garden grew. ;-) I am entering this in the Pick Three Challenge using text, slimline, and die cuts.
Affiliate links are used in this post at no cost to you. This means I may receive a small commission when you click through and shop using the links I provide. This helps support me in creating and posting my crafts. Items marked with an asterisk * at first mention were provided by a store or manufacturer. Otherwise, all items were purchased by me. I do not get paid to promote any products.
I recently got several packages of Tim Holtz’s Palette Paper Collection. It is absolutely dreamy. I’m so glad I got the Orange Tim Holtz 8x8 Palette Paper Collection, because it made the most ideal carrots. I used the Tim Holtz Abstract Elements die set to cut out 3 different sizes of carrots and then I edged them with Rusty Hinge Distress Ink to really make the orange pop. I used one die from Trinity Stamps Wildflower Clippings die set to create the carrot tops, cut from watercolor paper sprayed with Peeled Paint Distress Spray Stain.
I created Mr. McGregor’s Garden by taking Canson XL watercolor paper and dipping and drying it in a series of inks and sprays: Vintage Photo and Ground Espresso inkpads along with Frayed Burlap and Walnut Stain Spray Stains. I made dirt! I die cut this one large piece using the Lawn Fawn Puffy Clouds Border dies and a die from the retired Mama Elephant Slim Window Dressings Die Set. It was a bit of a trick getting the carrots glued just where I wanted them and then gluing the levels of dirt all together. I’m sure I did it the hard way.
I computer printed the “Mr. McGregor’s Garden” text onto Stampin’ Up! Crumb Cake paper and then cut it out (along with some green cardstock) using the sign dies out of the Tim Holtz Road Trip die set.
I made a tiny sentiment from the old Colorado Craft Company Bunnies and Robin stamp set.
I used a homemade cloud stencil along with Tumbled Glass Distress Ink to inkblend clouds in the sky.
I adhered the entire garden scene with foam tape on top of the cloud background. I was happy with how my garden grew. ;-) I am entering this in the Pick Three Challenge using text, slimline, and die cuts.
Affiliate links are used in this post at no cost to you. This means I may receive a small commission when you click through and shop using the links I provide. This helps support me in creating and posting my crafts. Items marked with an asterisk * at first mention were provided by a store or manufacturer. Otherwise, all items were purchased by me. I do not get paid to promote any products.

